REVIEW · STOCKHOLM
Magical “Stockholm by Night” Photo Walk
Book on Viator →Operated by JP Photo · Bookable on Viator
Night photos get easier fast.
This Stockholm by Night photo walk focuses on low-light technique right when the city switches on its lights, with a route timed for that sweet spot after sunset. I like that it’s not just a stroll: you get practical shooting guidance plus a photographer-led flow that helps you see what to frame and how to handle dark conditions. One thing to plan for is the lighting itself, since you’ll get the best results with a tripod (it’s optional, but recommended).
The best part for me is the human side: the walk includes traditional Swedish fika to keep the energy up while you reset between shots. And if you’re using an iPhone, the guide’s coaching can help you get beyond basic settings, so you’re not stuck staring at a dark screen and hoping for the best.
The only real drawback is weather. This experience needs good conditions, and if it doesn’t happen due to poor weather, you’ll need to reschedule or get your money back.
In This Review
- Key things you’ll enjoy most on this night photo walk
- Why Stockholm after dark is perfect for learning photography
- Meeting at Stockholm City Museum: your starting point and first mindset
- Stop 1: Stockholm Old Town with “real” night framing
- Stop 2: Riddarholmen—where darkness makes shapes pop
- Stop 3: Mariaberget viewpoints for city glow and steadier shots
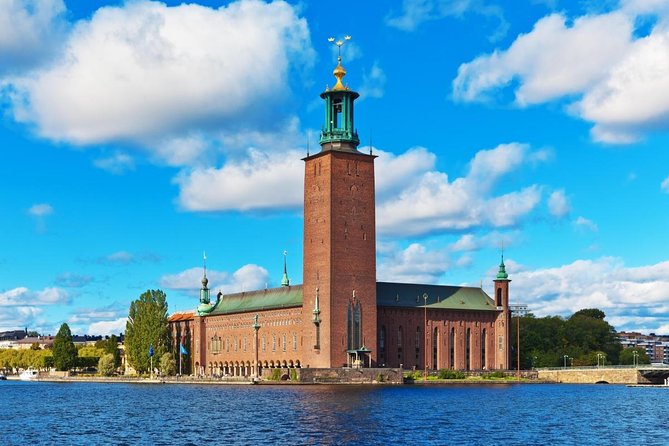
- Stop 4: Stockholm City Hall for long-exposure drama
- The photo coaching: what you’re actually learning in low light
- Tripod question: what to bring for best results
- The included Swedish fika: a smart break, not a random add-on
- Price and value: is $159.07 worth it for 2 hours?
- Who should book this photo walk
- Should you book Stockholm by Night?
- FAQ
- How long is the Stockholm by Night photo walk?
- Where does the tour start?
- Where does the tour end?
- Is the tour private?
- What language is the tour offered in?
- Do I need a tripod?
- Is a camera or phone included?
- What is included in the tour price?
- Which stops will we visit?
- What if the weather is bad?
- Can I cancel for a full refund?
Key things you’ll enjoy most on this night photo walk
- After-sunset timing: city lights are on, so you can practice in the real mood of Stockholm at night
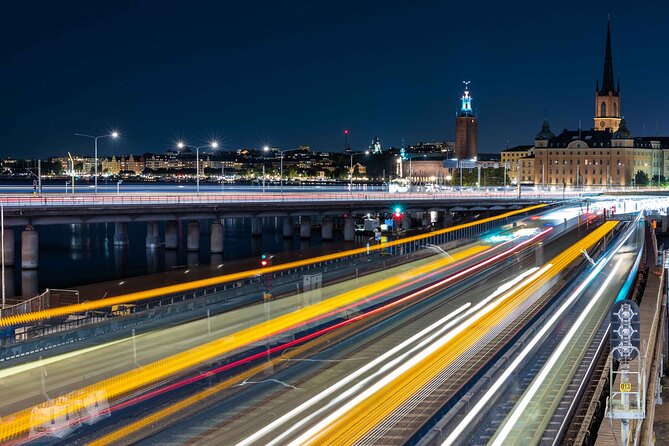
- Long-exposure practice: learn how light trails from cars and trains show up on camera
- Multi-device guidance: you can shoot with a camera or even a mobile phone
- Old Town to City Hall route: classic viewpoints plus modern, photogenic architecture
- Fika break included: coffee and something sweet to recharge mid-walk
- Private experience: it’s just your group, so questions stay focused
Why Stockholm after dark is perfect for learning photography
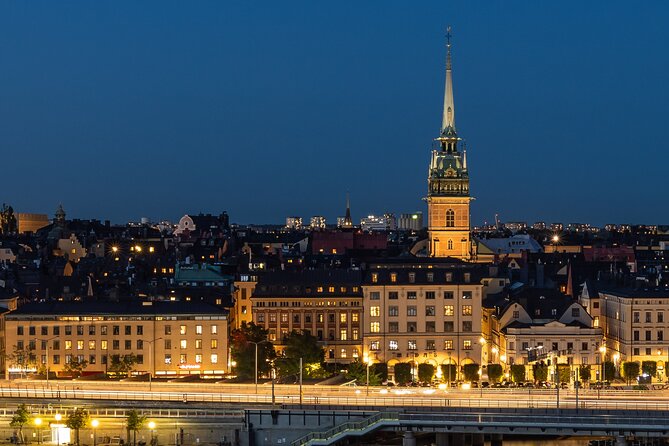
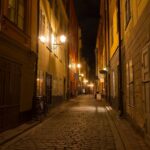
Stockholm at night isn’t just pretty. It’s educational. Once the sun drops, you get a stack of light sources working at different distances—street lamps, building glow, reflections on water and stone, and moving traffic. That mix is exactly what makes low-light photography teach you faster than daylight ever will.
What I like about this tour is that it leans into the hardest part: darkness. Instead of pretending night shots are magical by accident, you get taught how to handle low light on purpose. The emphasis is on long exposure, the technique that turns “moving stuff” into light trails. Cars become streaks. Trains can leave softer lines. The city turns from a subject you watch into a subject you control.
And because the start time is just after sunset, you’re not stuck waiting for total black. You get that natural ramp from dim to dark, which makes it easier to plan your shots and learn without panicking.
You can also read our reviews of more walking tours in Stockholm
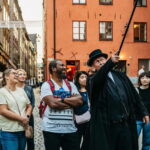
Meeting at Stockholm City Museum: your starting point and first mindset
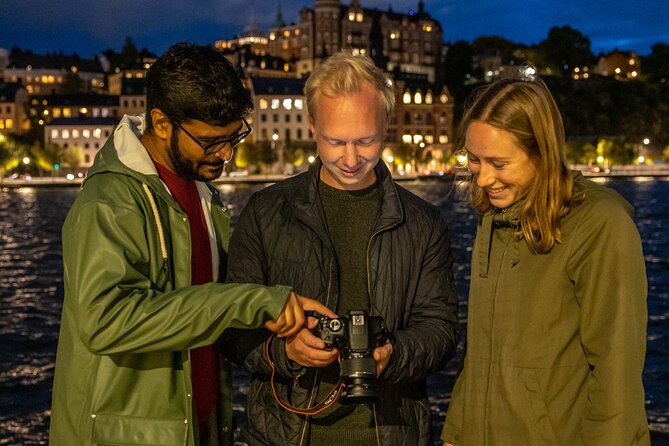
The walk starts at Stockholm City Museum, Ryssgården (116 46 Stockholm). You’ll return to this same spot at the end, so you’re not dealing with a long, confusing trek across town at night.
Before you even raise your camera, treat the first minutes like a mini lesson. Night photography is mostly about preparation:
- Decide what you want to show: a skyline glow, a church silhouette, bright windows, or a reflection.
- Get your feet steady. If you’re on cobblestones or uneven pavement, that matters.
- Think “composition first,” because once your shutter is open for longer, you don’t get a quick redo.
The tour provides flashlights, which helps you move safely and keep your gear organized. That small detail makes a real difference when it’s dark and you’re juggling camera straps, phone screens, and the occasional tripod leg.
Stop 1: Stockholm Old Town with “real” night framing
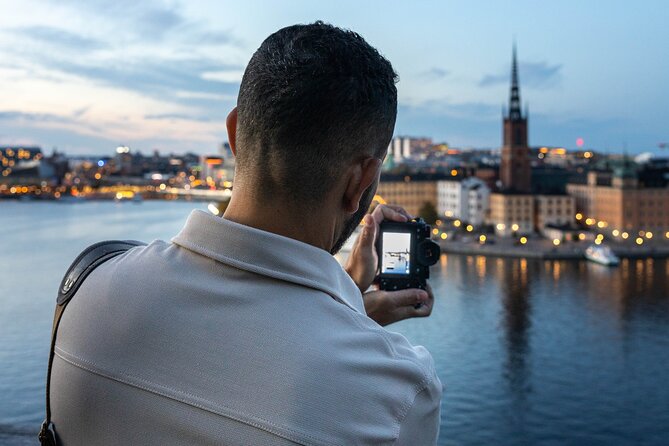
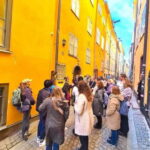
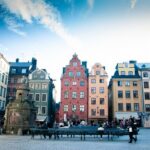
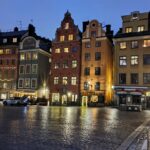
Old Town is where Stockholm’s character shows up. At night, the colors and textures often look more dramatic, and the light can outline rooftops, façades, and window patterns in a way that’s harder to notice at noon.
This stop is a smart place to begin your learning because it teaches you two core night skills:
- How to frame when contrast is extreme (bright windows vs dark corners).
- How to keep lines from looking tilted, even when you’re excited and shooting quickly.
Practical advice I’d give you here: slow down. In low light, every movement counts. If you’re using a camera with a longer exposure, take a moment, lock your stance, and wait for the moment you want—like when passing lights line up with your composition.
Possible drawback: because Old Town can look busy with lights, it’s also easy to over-shoot and end up with photos that are technically fine but visually messy. The guide’s job here is to help you choose what to simplify.
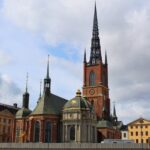
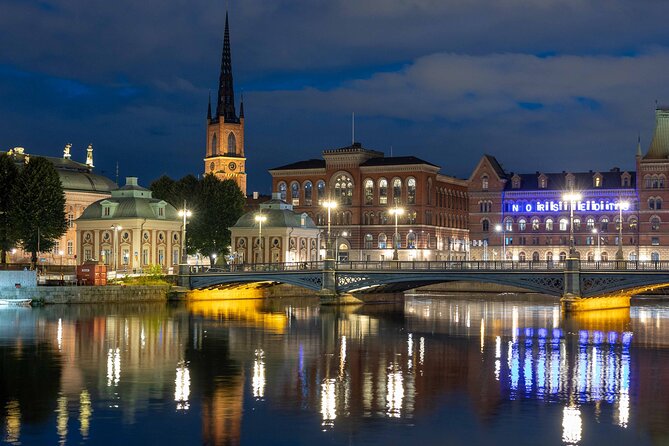
Stop 2: Riddarholmen—where darkness makes shapes pop
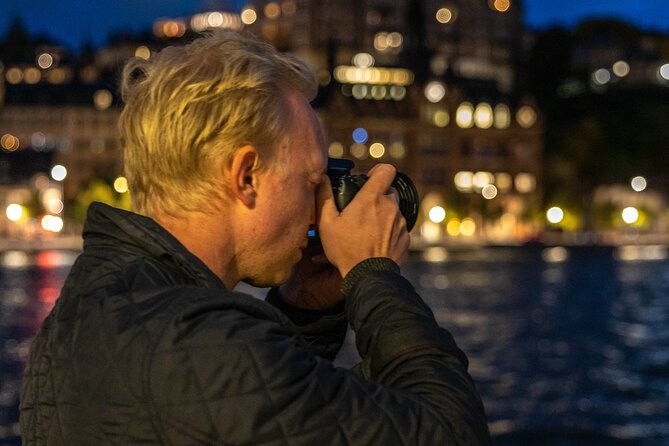
Riddarholmen is the kind of spot where the dark background works in your favor. Night makes silhouettes stand out, and lit edges become the “lines” that your eye follows.
This is a good stop to practice:
- Keeping your subject clear while the surroundings get darker
- Using light and shadow as design elements, not just background clutter
If you want that classic night-photo feel, focus on the relationship between the main subject and its lit details. When you get it right, your photo stops being a record and starts feeling like Stockholm—specific, recognizable, and calmer than a daytime snapshot.
One thing to watch: water and glossy stone surfaces can reflect light. Reflections can be great, but they can also blur your composition if you aim too high or too low. The coaching here helps you land on a framing level that balances reflections with the main subject.
Stop 3: Mariaberget viewpoints for city glow and steadier shots
Mariaberget is known for viewpoints, and at night that matters. Higher angles can reduce clutter and give you a better sense of the city’s lighting structure.
This stop is valuable for learning how to work with:
- Wider scenes without losing your subject
- Night “layers” (foreground lights, midground buildings, distant glow)
- Keeping the camera steady enough for the look you’re practicing, especially if you’re doing longer exposures
If you’re tempted to shoot handheld, this is where you’ll feel the limitation. A tripod can make the results dramatically sharper and more controlled. Still, you can participate without one—just expect your best frames to come from steadier handling and more deliberate composition.
The upside: once you see how your framing changes from a viewpoint, the rest of the walk starts clicking. You stop chasing random shots and start planning images.
You can also read our reviews of more evening experiences in Stockholm
Stop 4: Stockholm City Hall for long-exposure drama
The last photo stop is Stockholm City Hall, and it’s a perfect finale for the tour’s main theme: long exposure.
This is where the “light trails” idea becomes real. With the right approach, moving cars and trains turn into visible streaks. Instead of a static street scene, you get a sense of motion and time—almost like the city is drawing in light.
I like that the tour specifically teaches you to use this atmosphere. Long exposure isn’t just a trick. It’s a way to match what the city is doing at night. Traffic moves. People don’t stand still. The lights change. Your camera can translate that into a photo style that feels intentional.
Practical tip for you: when you’re doing longer exposures, don’t rush. The photo often improves when you wait for the “clean moment” inside your longer shutter time—like when multiple moving lights cross in a pleasing path.
If you’re using a phone, the guide can help you get a better outcome too, especially through iPhone-focused tips that go beyond basic point-and-shoot behavior. (That kind of phone coaching is a major reason this tour works for mixed-device groups.)
The photo coaching: what you’re actually learning in low light
This is not a sit-and-listen workshop. It’s guided practice. The tour teaches you how to master low light conditions with your camera (or phone), so you’re not stuck with blurry, underexposed images.
Here’s what that usually means in a practical way, and it’s what you should expect from the style of instruction offered:
- How to think about exposure time when it’s dark
- How to stabilize your setup so you don’t fight motion blur
- How to use the city lights as creative tools, not just something to point at
The guide also adapts the route to your experience level and interests. That matters because night photography changes fast based on your comfort level. A beginner might need help understanding what to do first. A more advanced shooter might want better composition direction and more focus on long-exposure results.
One of the most praised parts of the experience is how patient and helpful the photographer is. That’s crucial in night shooting, where it’s easy to get frustrated quickly. You need time to try, adjust, and try again.
Tripod question: what to bring for best results
A tripod is recommended because low light often pushes you toward longer exposures. If you can bring one, you’ll get more consistent results, especially at the viewpoint stops where steadiness helps your framing.
That said, the tour is designed so you can still join with:
- A camera only
- Or even just a mobile phone
Flashlights help you navigate and set up. But you still want to bring a plan for stability if you skip a tripod. Even leaning your elbows in, using the camera’s stability features, or bracing against something solid (only if it’s safe and allowed) can help.
Since the tour can be tailored, you’ll likely get guidance based on what you brought. That’s another reason the “private experience” style works well: you get more direct attention.
The included Swedish fika: a smart break, not a random add-on
Included in the walk is traditional Swedish fika with snacks. In real life, a night photo walk can feel like nonstop effort: look, shoot, adjust, repeat. The fika moment gives you a reset so you can keep learning instead of just grinding for images.
One review highlighted coffee with a cinnamon bun as the perfect pause. That kind of break matters because it changes your energy level. You come back to the next stop more patient and more focused, which is exactly what you need for better photos.
Think of it like this: night photography is technical, but it’s also emotional. You’ll make better pictures when you’re not rushed.
Price and value: is $159.07 worth it for 2 hours?
At $159.07 per person for roughly 2 hours, this isn’t a budget street stroll. The value comes from what’s included and what you’re practicing.
You’re paying for:
- Professional photographer guidance (the core value here)
- Flashlights during the walk
- A tailor-made route based on experience and interests
- Fika snacks
- An eBook about city photography after the tour
It also helps that it’s a private experience. Even when it’s small, you’re not competing for attention while trying to figure out low light exposure settings.
If you’ve ever tried night photography alone and ended up with mostly dark, blurry images, this kind of guided coaching can be a shortcut. You’re essentially renting time with someone who knows where the best light is and how to teach you to control your results.
You can think of it as buying clarity and momentum, not just paying for a walk.
Who should book this photo walk
This tour is a strong fit if you:
- Want to learn night photography without guessing
- Like city views and want specific stops around Stockholm
- Have a camera or a smartphone and want better results in low light
- Appreciate structure and feedback, not just sightseeing
It’s also a good option if you’re traveling with limited time. You’re not bouncing around all day. You get a focused, after-sunset route that teaches the “how” behind the “wow.”
Most people can participate, and service animals are allowed. The walk is also near public transportation, which helps when you’re planning a night activity in a city where the light changes fast.
Should you book Stockholm by Night?
Yes, if your goal is better night photos with less frustration. This tour has the ingredients that usually make night photography click: timing after sunset, a route that covers classic viewpoints and photogenic architecture, and real instruction on low light and long exposure.
Skip it only if you want a totally casual experience where you do zero technical learning. This walk is built around learning, and you’ll get more from it if you’re willing to follow along and adjust settings or technique as you go.
If you book, consider bringing a tripod if you can. And if you’re using an iPhone, lean into the fact that the guide can help you get more out of it than you’d expect from basic phone shooting.
If you want a Stockholm night that turns into photos you actually love, this one is a practical choice.
FAQ
How long is the Stockholm by Night photo walk?
It lasts about 2 hours.
Where does the tour start?
It starts at Stockholm City Museum, Ryssgården, 116 46 Stockholm, Sweden.
Where does the tour end?
The activity ends back at the meeting point.
Is the tour private?
Yes. Only your group participates.
What language is the tour offered in?
It’s offered in English.
Do I need a tripod?
A tripod is optional, but it is recommended due to the difficult light conditions.
Is a camera or phone included?
No. You need to bring your own camera or mobile phone.
What is included in the tour price?
Guidance by a professional photographer and guide, flashlights, a Swedish fika snack break, and a city photography eBook after the tour.
Which stops will we visit?
You’ll visit Stockholm Old Town, Riddarholmen, Mariaberget, and Stockholm City Hall.
What if the weather is bad?
The experience requires good weather. If it’s canceled due to poor weather, you’ll be offered a different date or a full refund.
Can I cancel for a full refund?
Yes. Free cancellation is available up to 24 hours in advance of the experience start time for a full refund.